Make an ironing board cover
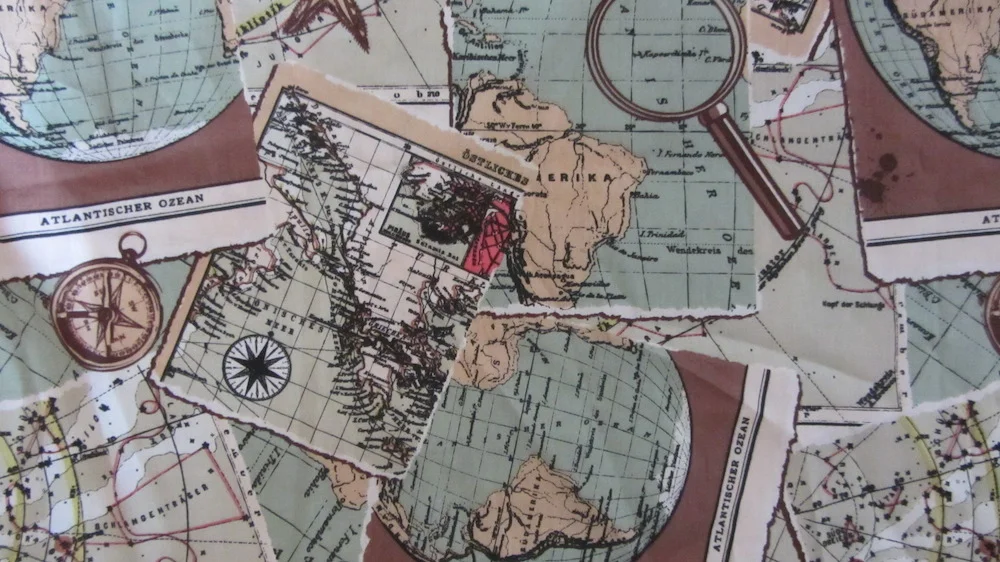
After all of the wonderful comments about the map fabric I bought in Birmingham, I thought I should step to it and replace the cover of our ironing board. Turns out the language on the fabric is German, amazing what you don't notice when you're so caught up with a fabric!
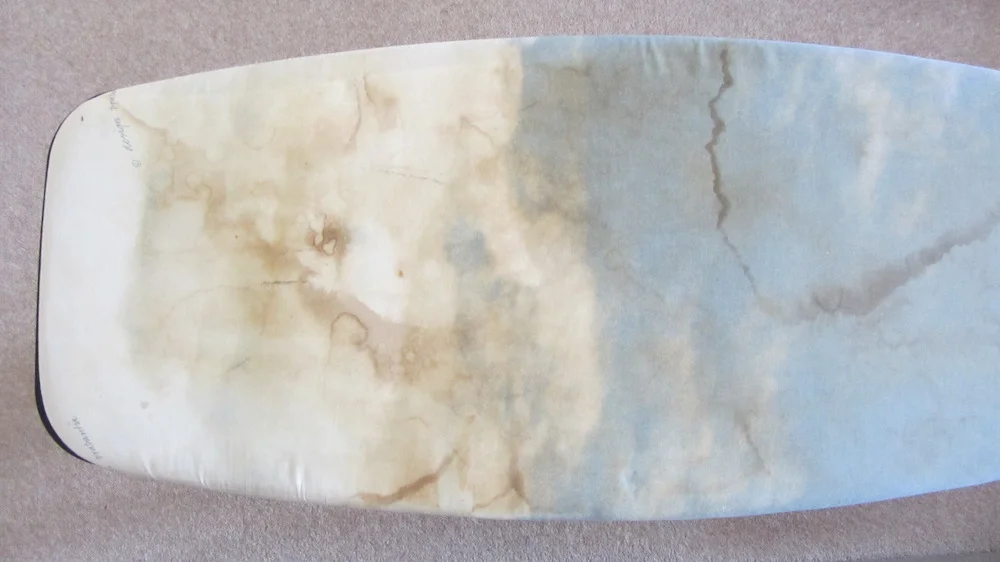
Our ironing board is HUGE and was in desperate need of a makeover. You can see the discolouration below which had seeped through to the polyurethane pad. I suspect this caused the discolouring as moisture can't escape through a non-natural fibre. I also had a feeling that one of the layers below the cover had split, or melted, and I was right, there was a rather large hole in the foam layer where it had tried to fuse itself to the metal frame.
So why make my own? "It's only an ironing board cover!" I hear you say. But I have to look at that cover a lot when I'm sewing. Every now and then I would look for new covers and decide that all of them were not what I wanted. The range of offer was appalling in places! Turns out is rather simple to make your own.
What you need:
Cotton fabric as your top layer
Cotton muslin or similar (I used a cotton sheet)
100% cotton batting
Bias tape, enough to go around your fabric
String or elastic
Make sure that you have 100% cotton materials otherwise you won't be able to use the highest heat on your iron. I haven't supplied quantities as each ironing board is different. Measure the board's length and widest part, then add 7cm or so for each side to allow for the extra fabric hiding under the board.
Step one
You need to create a pattern for your cover. Remove your current cover and see if there is a polyurethane pad included. If so, pin that to your fabric and add an extra 7cm before cutting. Do this for the cover, the muslin and batting.

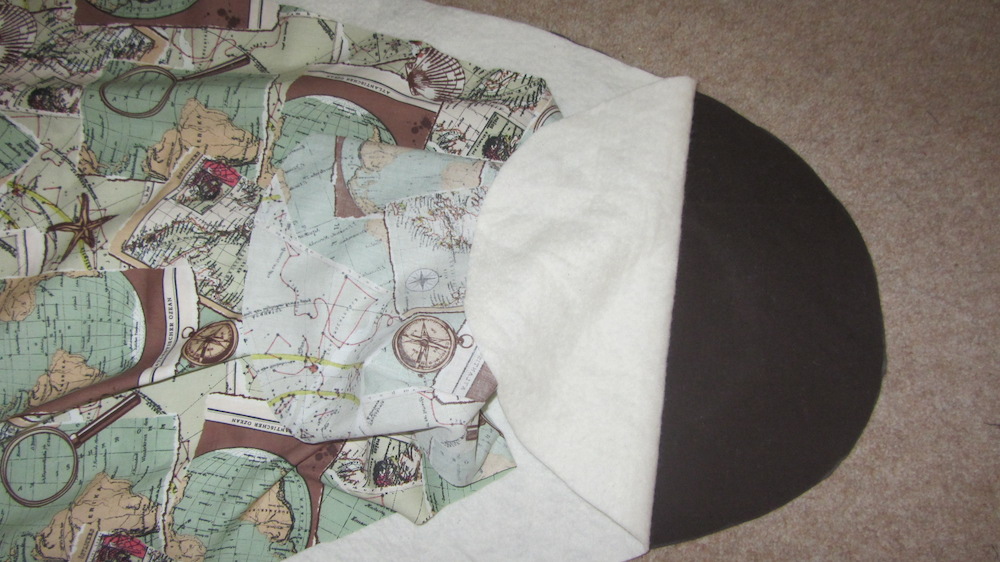
Step two
Create a sandwich with your layers in the following order, from bottom to top: muslin, batting, cover. Baste into place. If you have ever made a quilt you can understand that this is the most time consuming part as you ensure you don't get any creases or bumps!
Step three
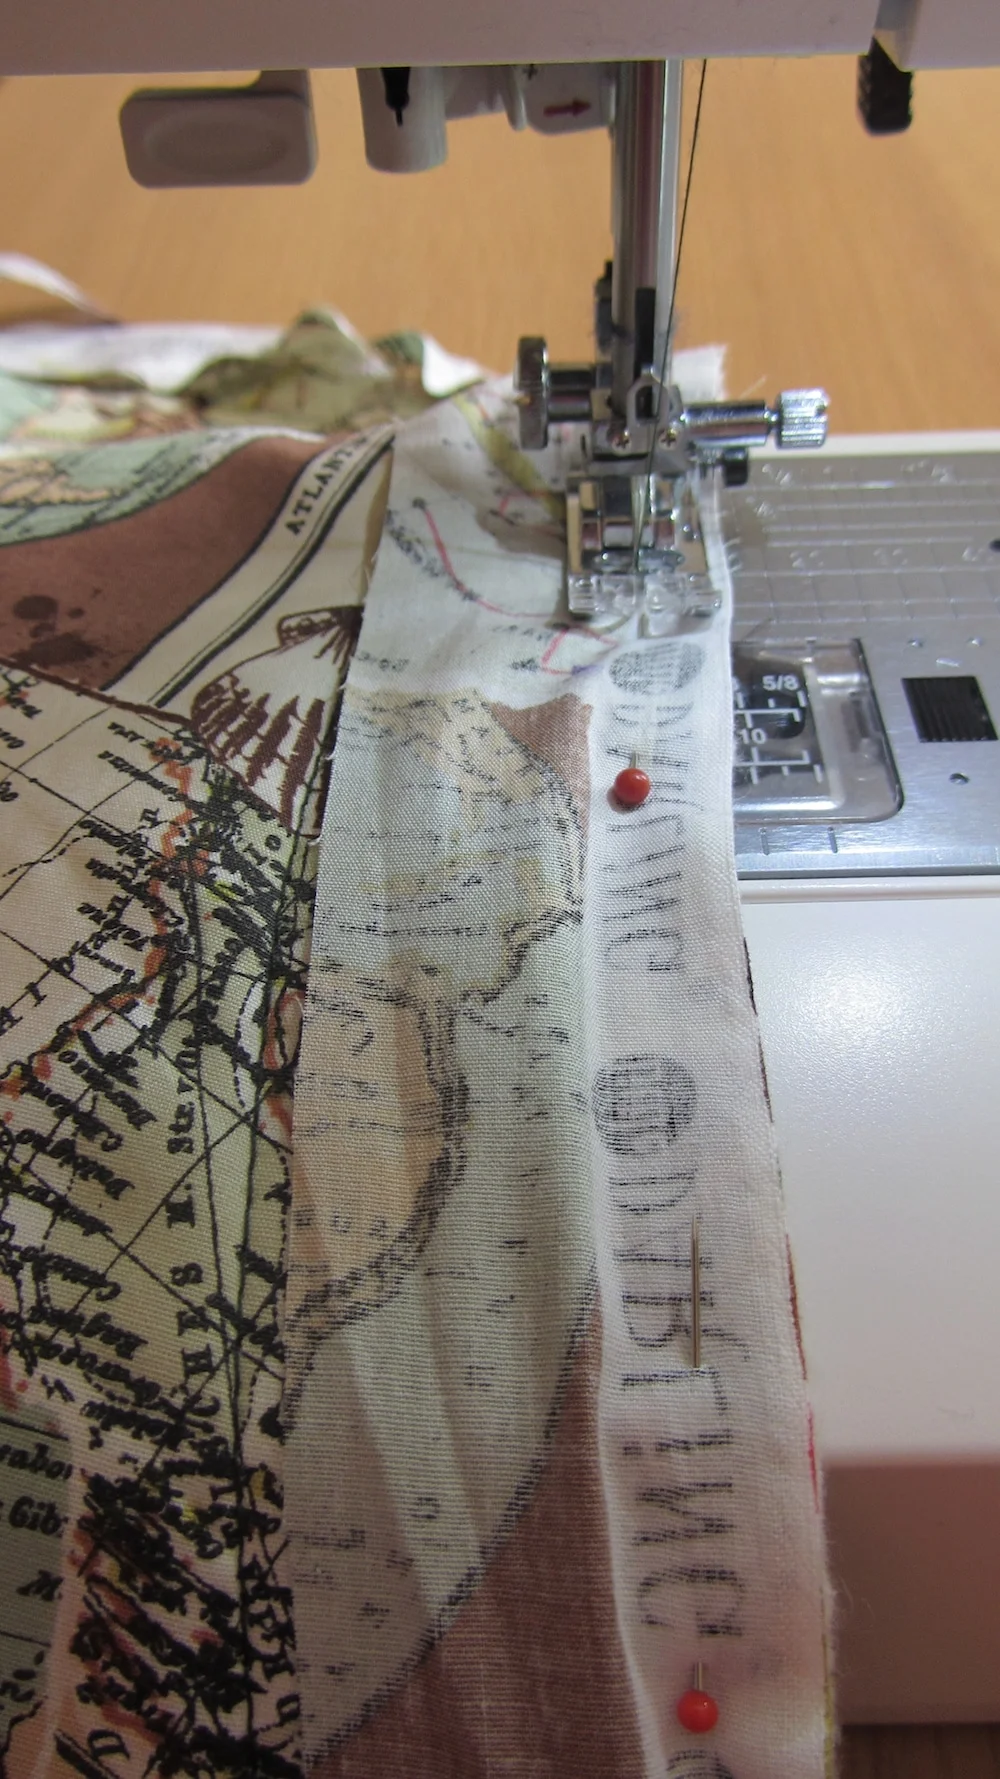
Create your bias tape, if making your own. Open the tape and pin one edge to the raw edge of your sandwiched cover. Begin at the end where your elastic/string pulls tight. Machine sew all the way round.
Step four
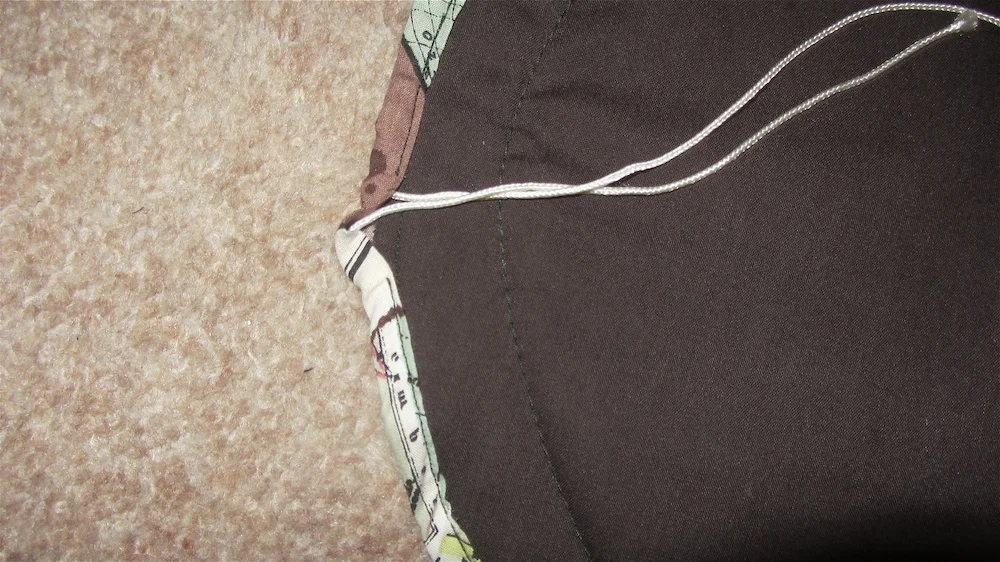
Fold over the bias tape and stitch along the line you have just sewn, this will create a case for your string or elastic. Ensure that you leave a gap to insert the string/elastic.
Step five
Using a safety pin, thread your elastic/string all the way round. Another way to do this, if you're feeling brave and using string (elastic tends to be too wide) is to encase the string as you pin the tape but be careful not to get it caught in the stitches. Remove your basting stitches.
Step six
Put your new cover onto your ironing board and pull the elastic/string until the cover is taught. Tie off with a knot/bow.
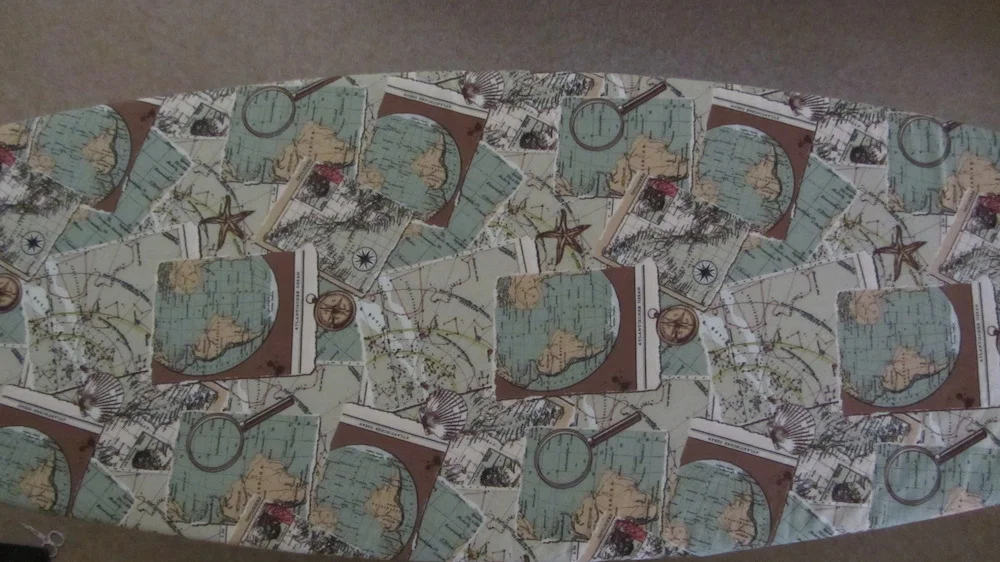
Viola! You have a new ironing board cover.

And yes, I'm still very pleased that I went for the maps!