Create an envelope cushion
I recently made four envelope cushions as a birthday present for Adam's mum (Hi Frances!) and thought I would share the construction with you. They really are very simple to make but they do require a teeny bit of maths. I've detailed the construction of a very simple cover but you can customise to your hearts content!
What you need:
A Cushion to cover
Fabric
Trims such as piping, buttons (optional)
Step one
Let's get the maths out of the way, otherwise you won't know what size to cut your fabric. First, you need to know the size of the cushion you are going to cover.
You will need to create three pieces for the cover. The front is cut to the exact measurements of your cushion. You will sew the cover together with a 1cm seam allowance - this will give the cushion a more upholstered, filled look.
For the back pieces, they will be the same height as your cushion but they won't be as wide. You need to decide how much overlap you want on these pieces. Many decide on a third of the width of the cushion but I went for a little more so none of the filler could be seen. You then need to add 2cm for the seam allowance.
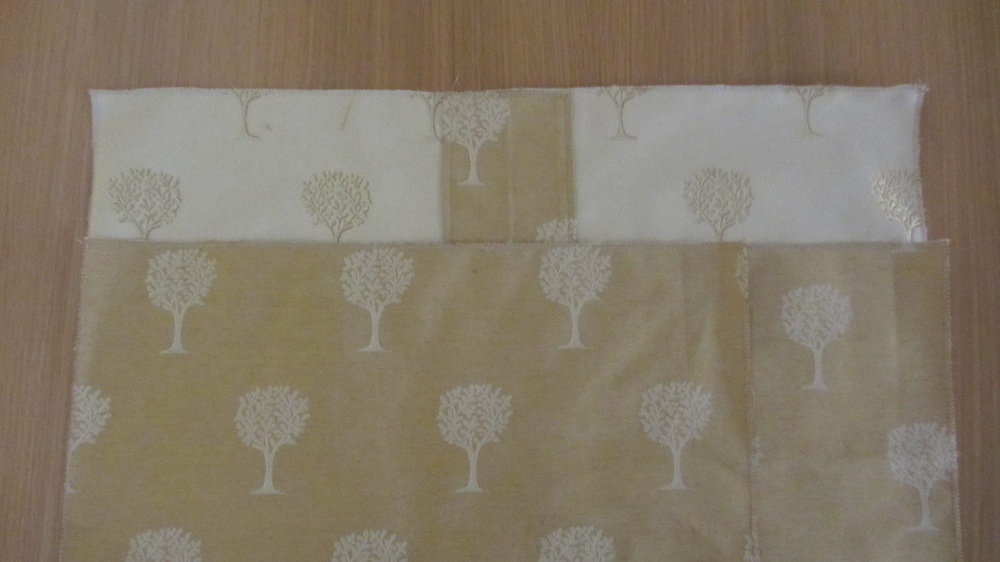
Here are the measurements I used:
Front: 50cm x 50cm
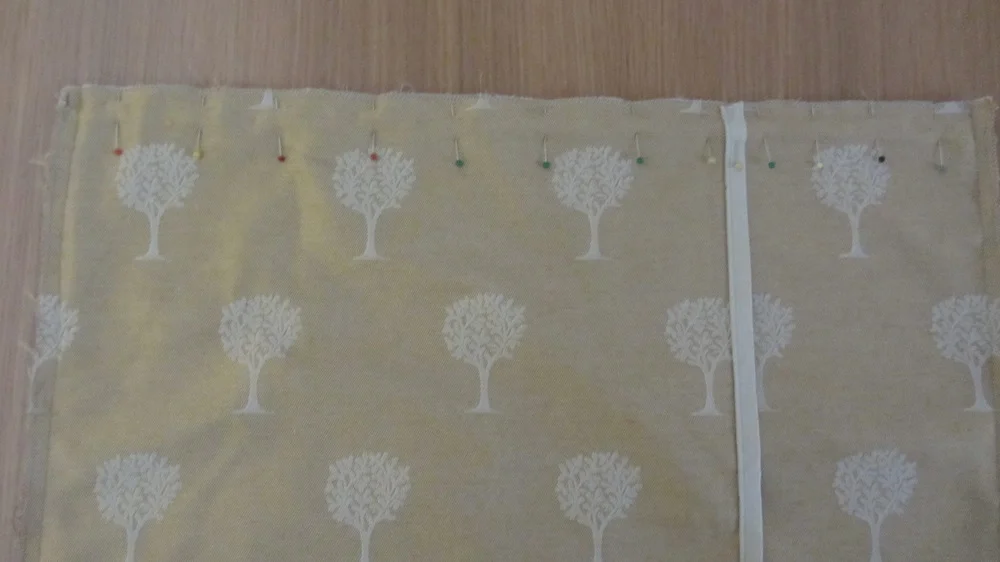
Back: 50cm x 39cm (half the width of cushion + generous overlap + 2cm seam allowance) You can see the generous overlap in the photo below, it is about 12cm.
Step two
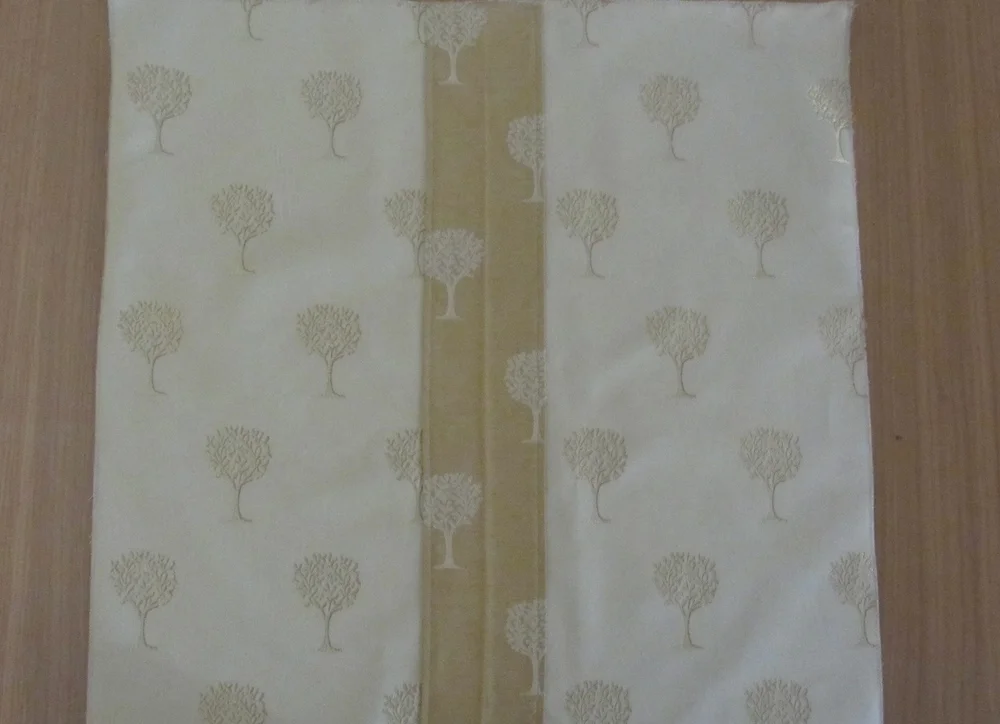
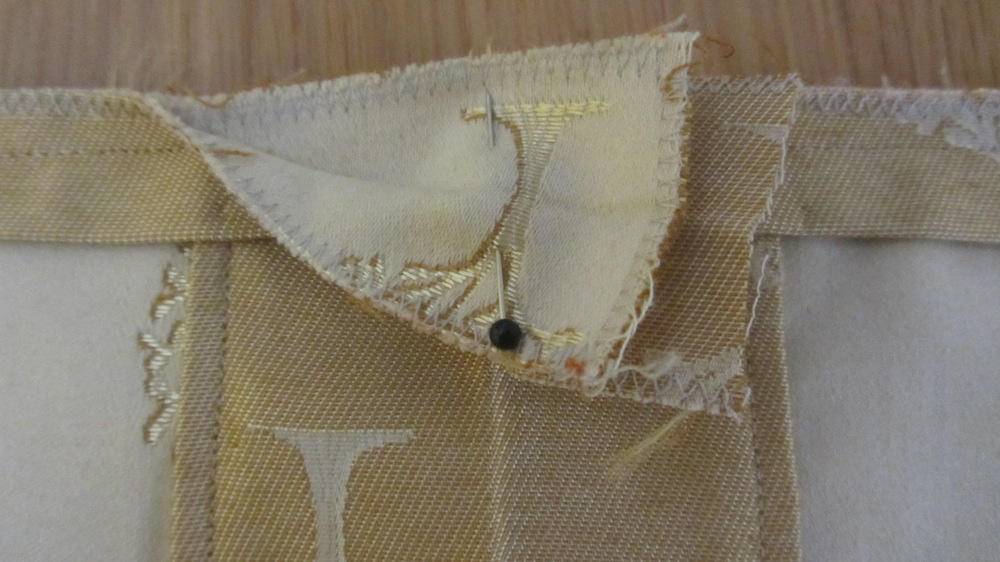
Mark your fabric with your measurements and cut out the pieces. If you are adding detail to the front cover such as a pleat add this now. I did for one of the designs.
Step three
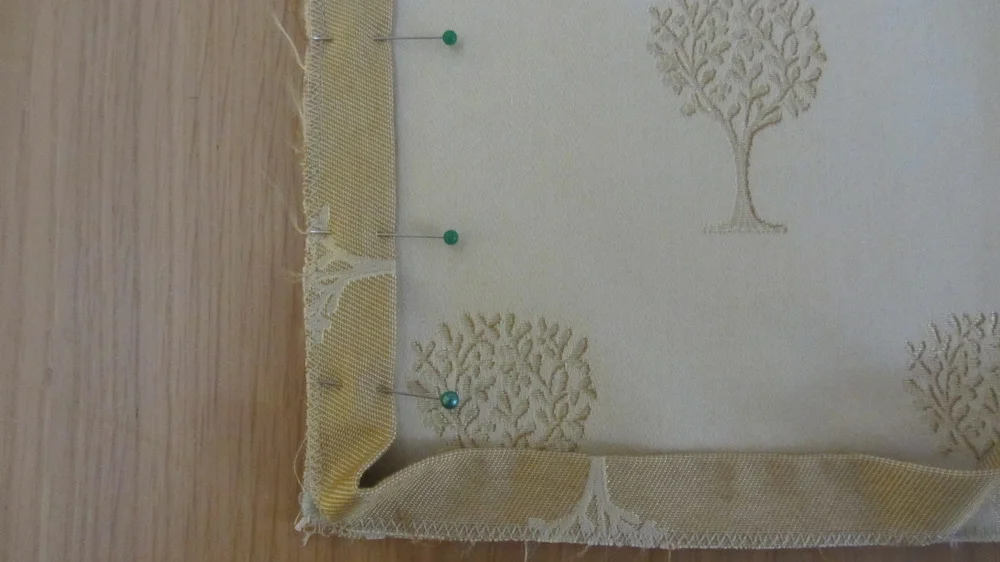
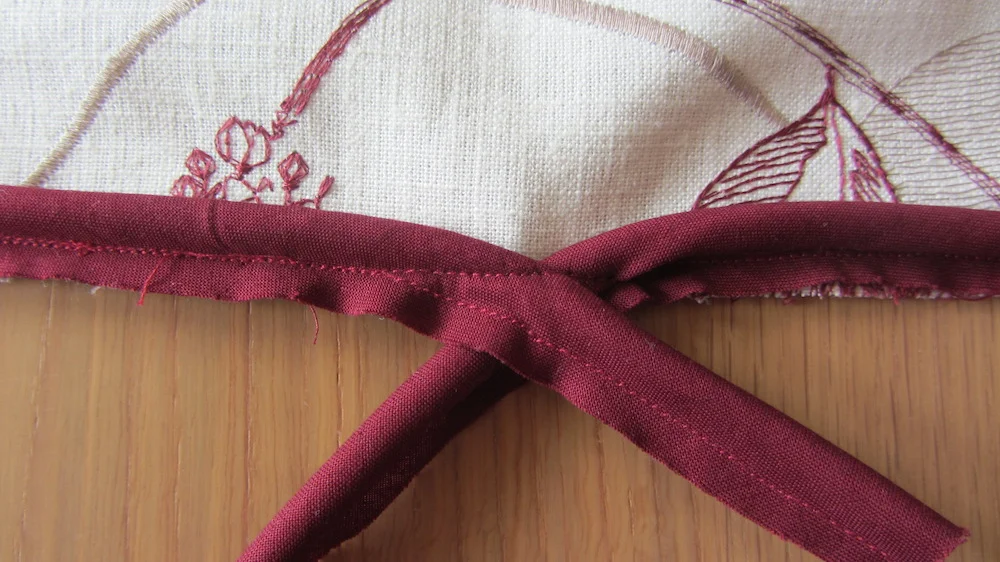
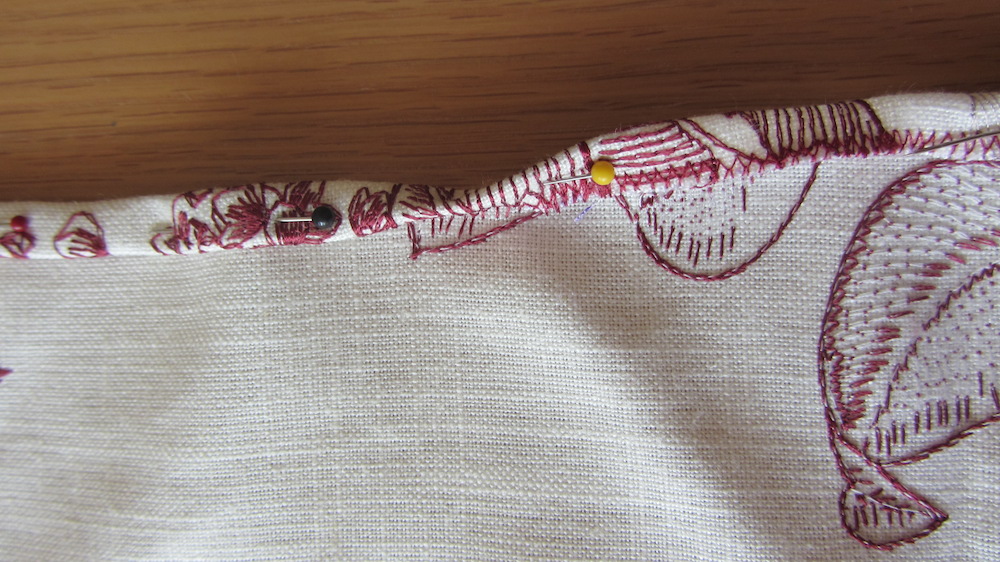
Add your piping or trim to the right side of the front cover. Do this by starting somewhere inconspicuous enough to hide the join. I would suggest at the centre of the bottom seam. Pin the raw edges together but leave a tail of a few centimetres. When you reach the corner, turn the piping/trim into a tight corner and pin in place. Continue all the way around.
The join will be different for piping to a trim.
Trim
Begin stitching the trim in place a few centimetres from the centre. Stitch all the way round and finish a few centimetres from the centre. Fold the fabric in half and pin the trim at this point being careful not to catch the main fabric. Stitch the trim along that line and then trim the seam allowance. Finish sewing the trim in place.
Piping
You want to create a curve with the edges of the piping at the join. Do this by laying one end of the pining across the other before you begin stitching. Stitch all the way around the sides. Continue stitching in a straight line when you reach the join. Trim the seam allowance.
Step four
Take your back pieces. Turn under the overlapping seam by 1cm and then another 1cm. Stitch in place.
Step five
Pin one back piece to the front cover and then the other. They will overlap at the top and bottom. Stitch all the way around using a 1cm seam allowance.
Step six
Turn the cover through to the right sides and press if needed. Add the cushion filler and you're finished!
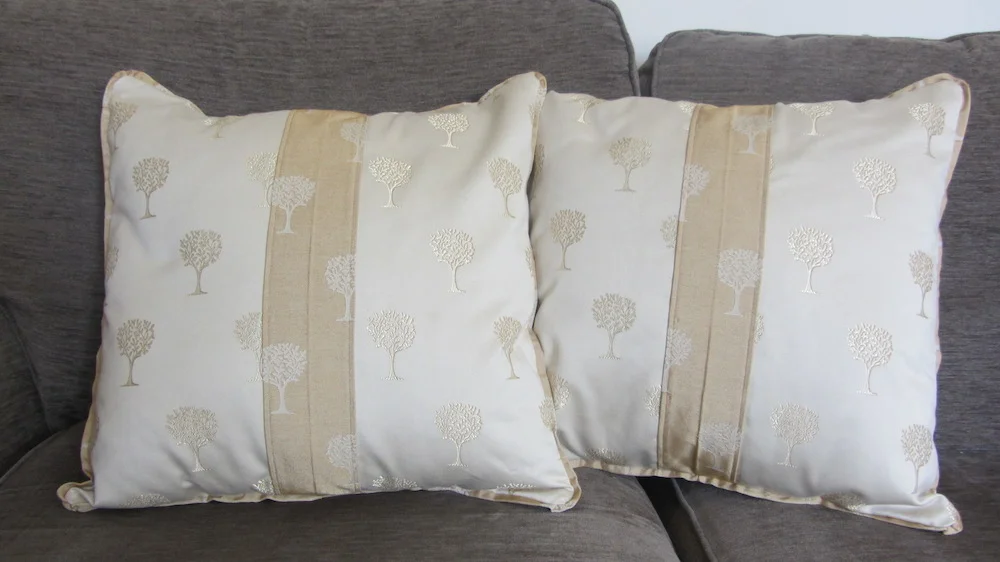
Here are close ups of the ones I made. I can't take credit for choosing the fabric though, Adam chose them.