Door stops - saving my sanity!
Do you have doors that creak or are prone to slamming? We do. I'm constantly in and out of them when crafting as I always forget something or the ironing board is in a different room, and the creaking drives me insane! It is even worse when the windows are open in good weather. But not anymore. I made some door stops to retain my sanity!
Here's how I made them.
You will need:
Outer fabric (choose something sturdy)
Lining fabric (again, choose something sturdy)
Medium weight interfacing
Velcro
Thread
2kg fish tank gravel (or equivalent, just make sure it is heavy)
Seam allowance is 1cm throughout.
1. Cut out the following pieces in both the outer and lining fabric:
One rectangle - 50cm x 22cm
One circle - 17cm diameter
Two truncated circles - use the full circle as a template, draw a vertical line 3cm from the edge and cut. You want opposite edges cut on each piece. (See picture below in step 6)
From your outer fabric and interfacing:
One rectangle - 10cm x 20cm

2. Prepare the handle. Take your 10cm x 20cm rectangle and apply the interfacing to the wrong side. Fold the fabric, right sides together, pin and stitch. Turn the fabric through, and press with the seam line in the centre.

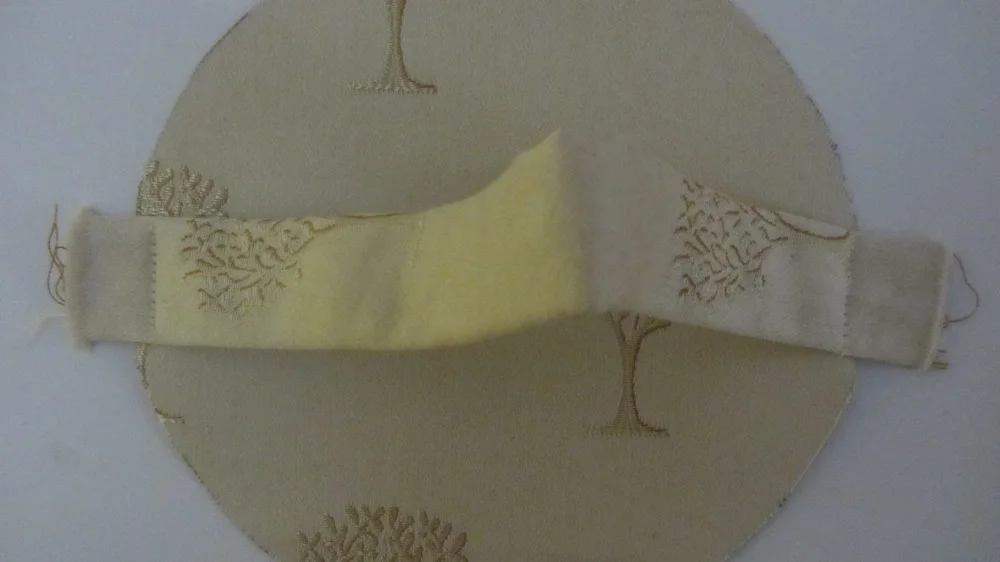
3. Take your full circle and place it right side up. Take your handle and place it on top, right side up, allowing a couple of centimetres to fall over the edge. Baste in place.
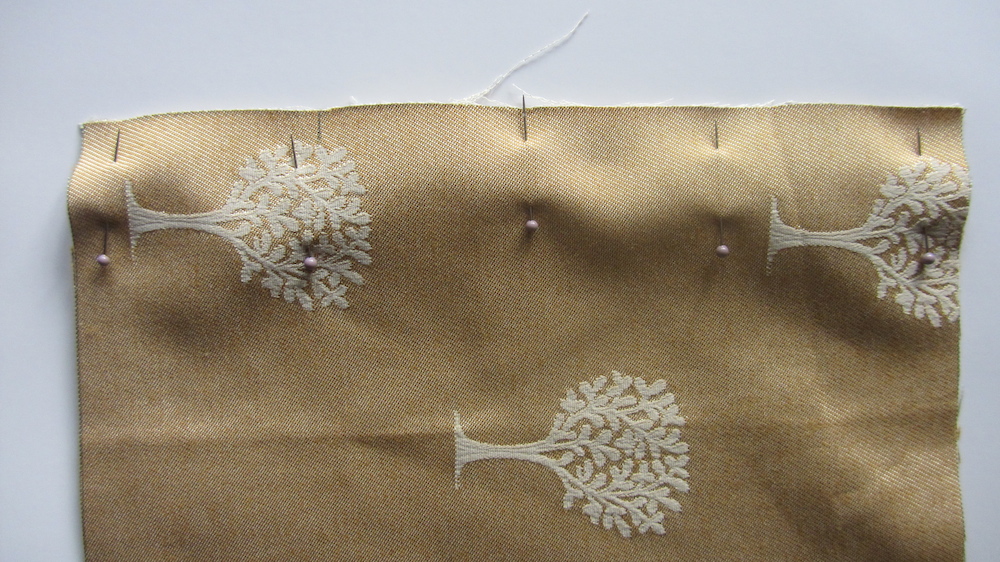
4. Take your outer fabric 50cm x 22cm rectangle. Fold in half, right sides together and pin. Stitch and press seams open.
5. With right sides together, pin the circle into the cylinder. Stitch in place.

6. Take your truncated circles and press the straight edge under 2cm. Stitch in place.
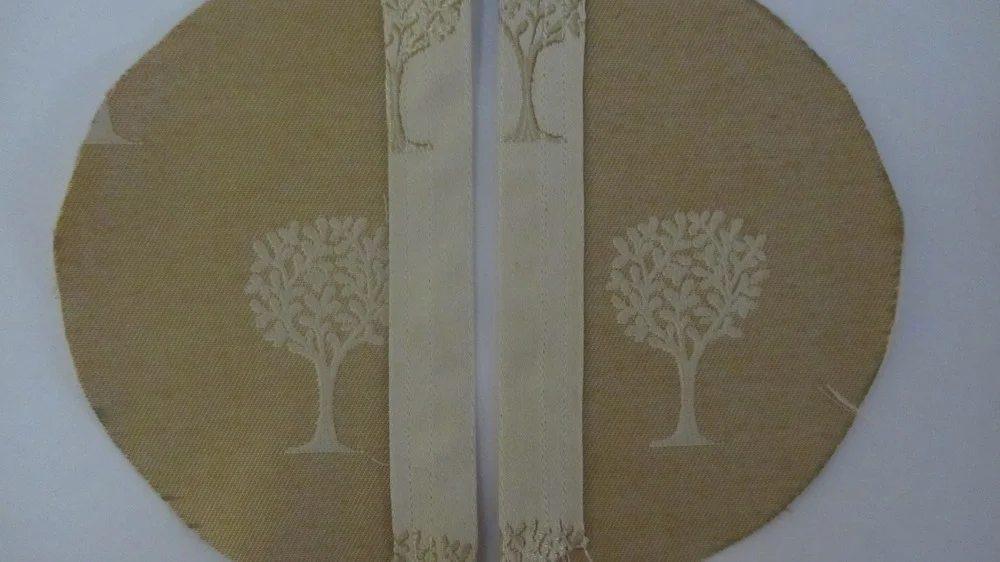
7. Cut two strips of velcro to the length of the straight edge. Place one on the wrong side of one truncated circle, the other on the right side. Stitch.

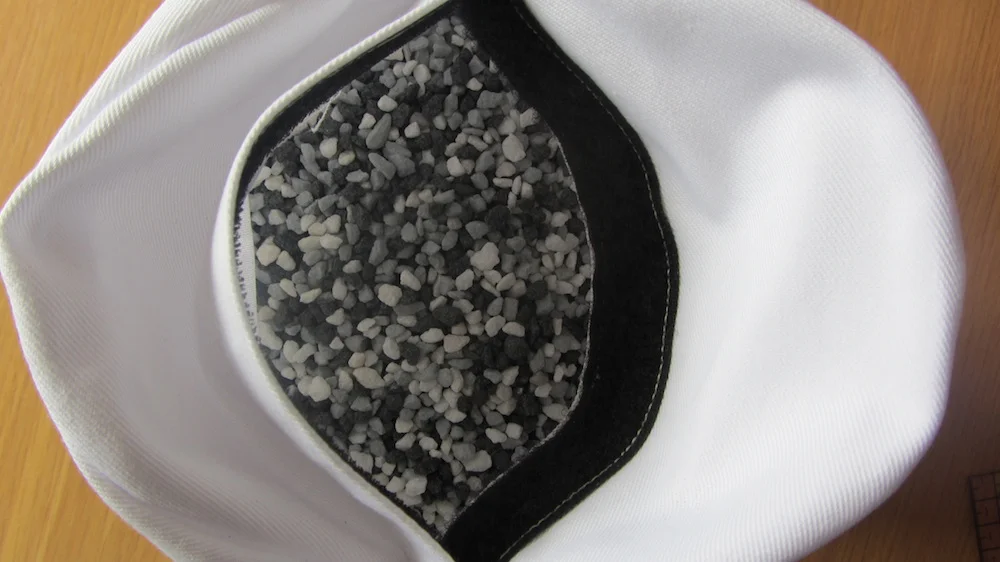
8. Put the velcro edges together. Pin the full circle to the cylinder, rights sides together and stitch. Open the velcro and turn the cylinder out.
9. Repeat steps 4-8 with your lining fabric. 10. Fill your lining with the gravel. Close the velcro securely.
11. Put the lining into the outer fabric, velcro circle first. You will need to manipulate the shape the lining to do this. Once in, close the velcro of the outer fabric securely.
12. Place by the door!

Thankfully I can enjoy the peace now...