WIP: a self-drafted coat
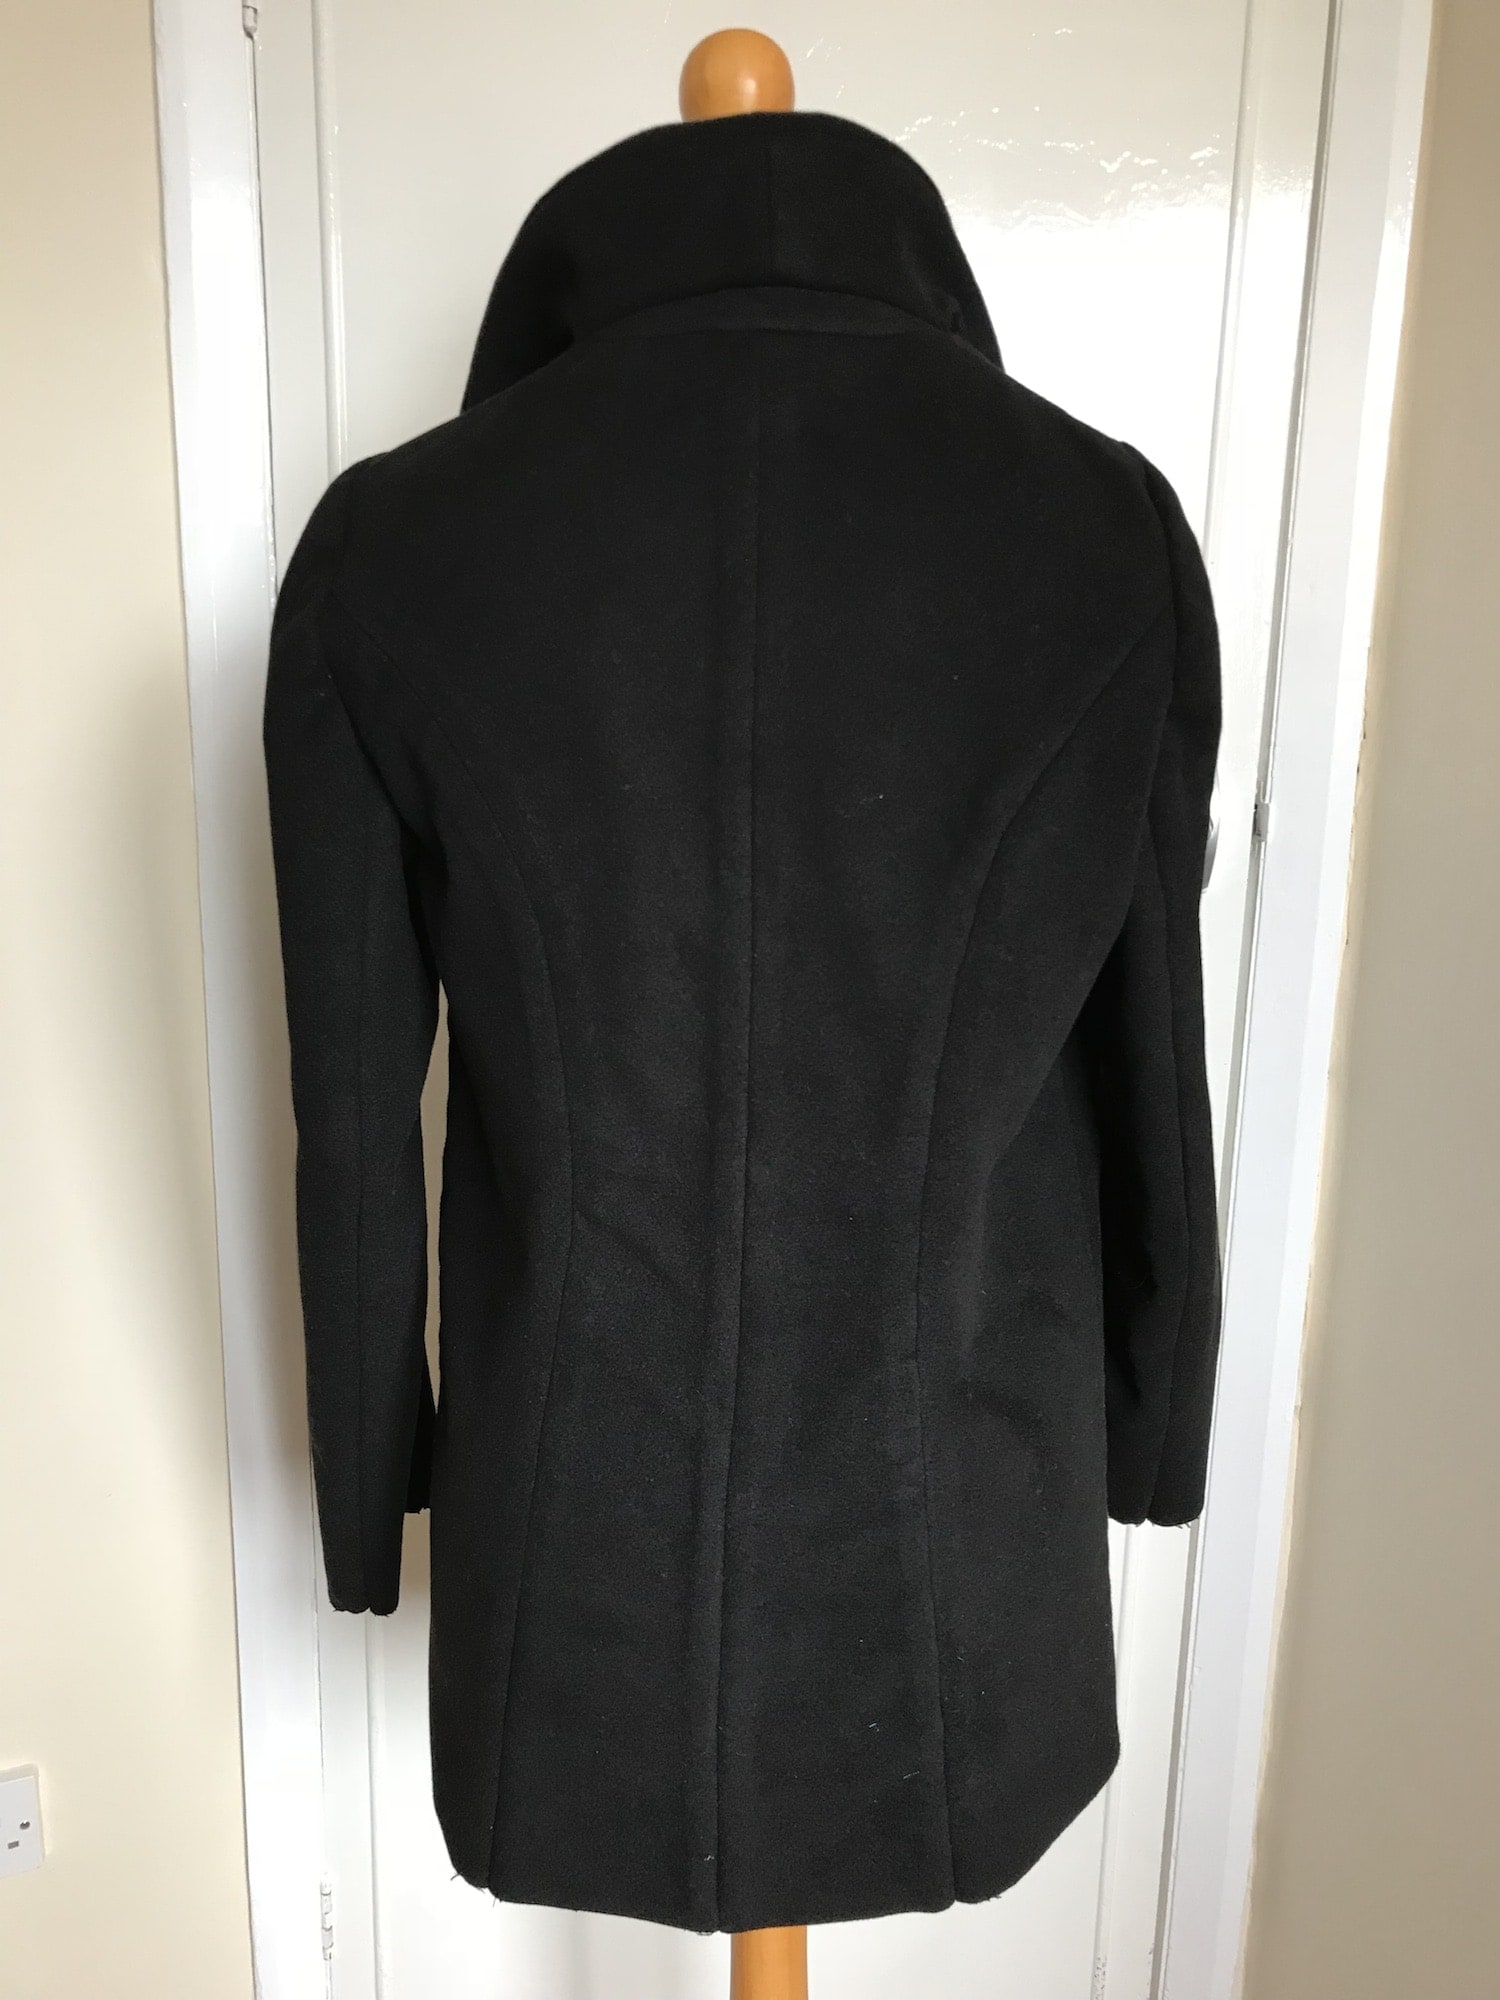
Over the past five or so weeks, I've been working on a new longer term project. The sewing course I signed up for allows you to take any project you like and steadily work through it. I chose to draft a coat which will see me through the changing seasons - the time when it's too warm for a full winter coat and too cool for a trench coat. The inspiration came from Ted Baker's Keyla coat which is a short wrap coat made from a cashmere-blend and outside of my budget! The shape is very similar to my current winter coat which I adore. The wrap over centre front combined with the high standing collar keeps out all the draughts. There is little definition in the body and it relies on the belt to provide some shape. It feels amazing to wear so a shorter version entering my wardrobe was almost an inevitability.

Original inspiration. Source
The pattern was drafted using my standard block and the measurements of my winter coat. As a result, the design is a mix of my winter coat and the Keyla. From the Keyla, we included the darts on the side front panels, the two piece sleeve and a very similar length. The shape of the front flaps and the style of the collar at the back are from my winter coat. The toile fitted perfectly across the shoulders and waist. The length of the coat and the sleeves were also spot on. However, one change was needed at the side front. We added a centimetre or so towards the top to prevent the sleeve from pulling the side front panels therefore stopping any drag lines and allowing fuller movement.


For the outer fabric, I chose a coating fabric from the new John Lewis in Oxford. It is a polyester-viscose mix which feels lovely to touch and is rather heavy. At the time of buying colour options included navy, dusty pink, light blue and black. In a rare move, I chose the black for a classic look and to ensure it will go with everything in my wardrobe.

This mix slides through my sewing machine with ease. Unfortunately this where its good characteristics for construction ends. It can fray pretty badly so every raw edge will have been through the overlocker. It has a very springy nature which means it needs a lot of attention around the seams to get them to lie flat. This is made worse by the fact that it is an absolute bitch to press - the mere sight of the iron will leaving a lasting mark on it, even through a press cloth. Steaming then finger pressing the seams open wouldn't keep them in place. In the end, I secured them to the body with the help of catch stitching. I'm fond of hand sewing but with the number of seams combined with the colour black I soon began to get a little frustrated. I'm blaming this extra mile for me stitching up and securing the side seams while forgetting there were pockets to add...
Despite it's aversion to the iron, I was able to add interfacing to the collar stand and to the front flaps. To give the collar more strength to stand upright, I used a study fusible canvas. As the front flaps need to be able to fold effortlessly I opted for a lighter fusible fleece type domette. It works perfectly with the outer fabric and gives just enough support.

Thankfully, the order of construction has been pretty easy to figure out. Broadly, the front and front sides were pieced together first followed by the back and back sides. They were stitched together at the side seams and at the shoulders. The collar stand was added to the back neckline. To create the flaps, the centre back seam was stitched before being added along the front seams and the back neckline. I carefully marked the pivot point at the back neckline to ensure a smooth line at the point where the stand meets the shoulder line. This point was then carefully clipped to allow the seam allowance to lie flat. I then set the sleeves. The inside flaps were stitched to the front facing before being added to the outer shell of the coat.

So far, so good and it fits very well. When trying it on, I realised that the sleeves will need some extra support and I plan to add sleeve heads. I also need to work out how I want to do up the coat before tackling the difficult task of getting all the outer seam lines to lay smooth and flat for top stitching. I'm currently debating between buttons or magnets. Has anyone ever used magnets in a make before? If so, any tips?
I'm now off to start working on the lining. I'm still a little annoyed about missing out the pockets and the thought of unpicking the seams or adding belt loops are not ones that I currently cherish!