Wedding dress - The Pattern and Silk Satin Bodice
With the design of my wedding dress finalised, Chris and I set about making the pattern. We knocked out the first draft in two and half hours by taking one of Chris' standard size blocks which fitted well. From this standard block we made some minor tweaks - pinching out some excess across the upper chest and diagonally from the bust up to the sleeve, enlarged the waist dart slightly, and flared out the hip line to allow the bodice to fully close.

I made a toile of the strapless bodice in calico (the overlay would wait until we had the lace) and it fitted almost perfectly just requiring a few millimetres to be removed from the front princess seams to achieve a closer fit. We added the skirt to get a sense of the full dress. The skirt toile was rather narrow with a small train which was fixed in the real dress. It did feel pretty amazing to try on the toile as it was the first real idea I got on how the dress would actually look.

The rest of this post is dedicated to completing the sweetheart bodice. The bodice took a lot of patience to complete - despite being simple in design, achieving the flawless look required a slow and steady approach.
Following the success toile, I began working on the foundation of the dress. It was essential to get this part right as this would take the strain of the weight of the dress. With the bodice being so fitted as well as needing to take the weight of the lace skirt and prevent any stress on the lace overlay, I needed a very sturdy fabric.

I chose a closely weaved white cotton twill with very little give to provide the stability needed. In a process that would feature throughout making the entire dress, I marked all the seam lines and basted the pieces together to check the fit before committing to actual stitching.
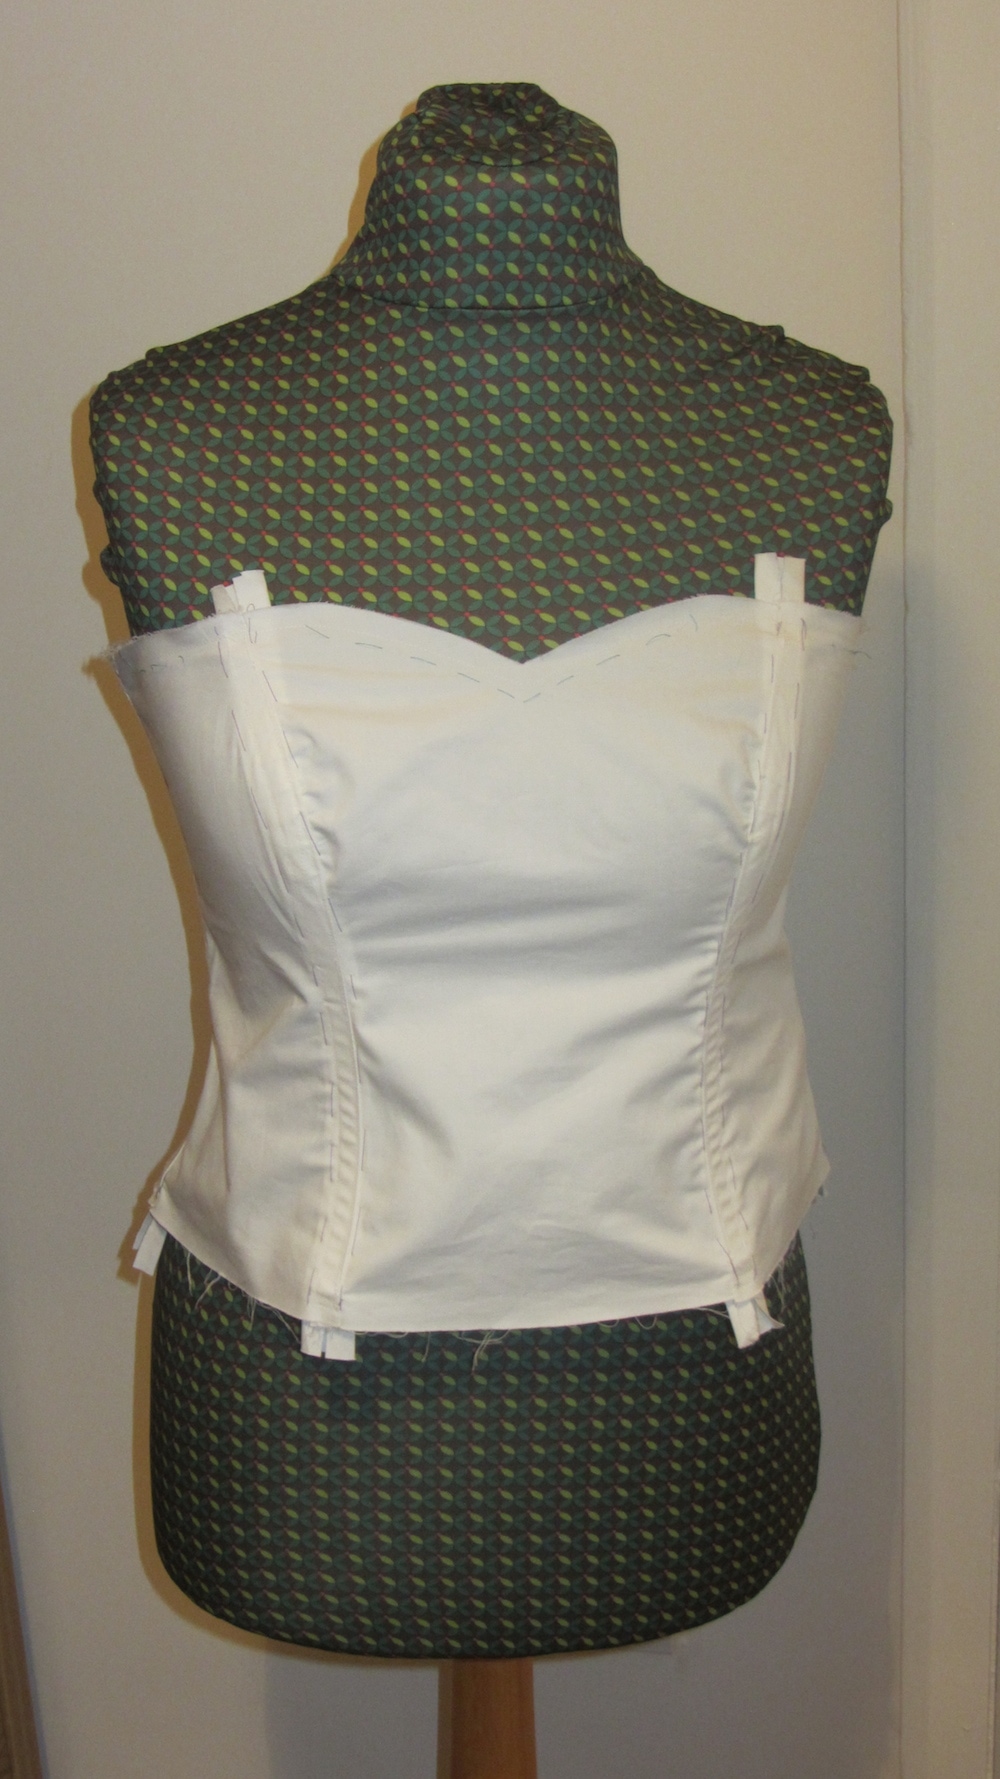
Because of the close fit and the fact I wasn't adding cups, the bodice required a lot of support.
To start I stitched 8mm Rigilene boning directly onto the twill at all seam lines and the back darts. The seam allowances were pressed to one side with the boning added on top - this added another level of protection to the silk satin from the edges of the plastic. After wearing the bodice for a short time and jumping up and down a lot to imitate dancing, I realised that additional support was needed especially at the front.
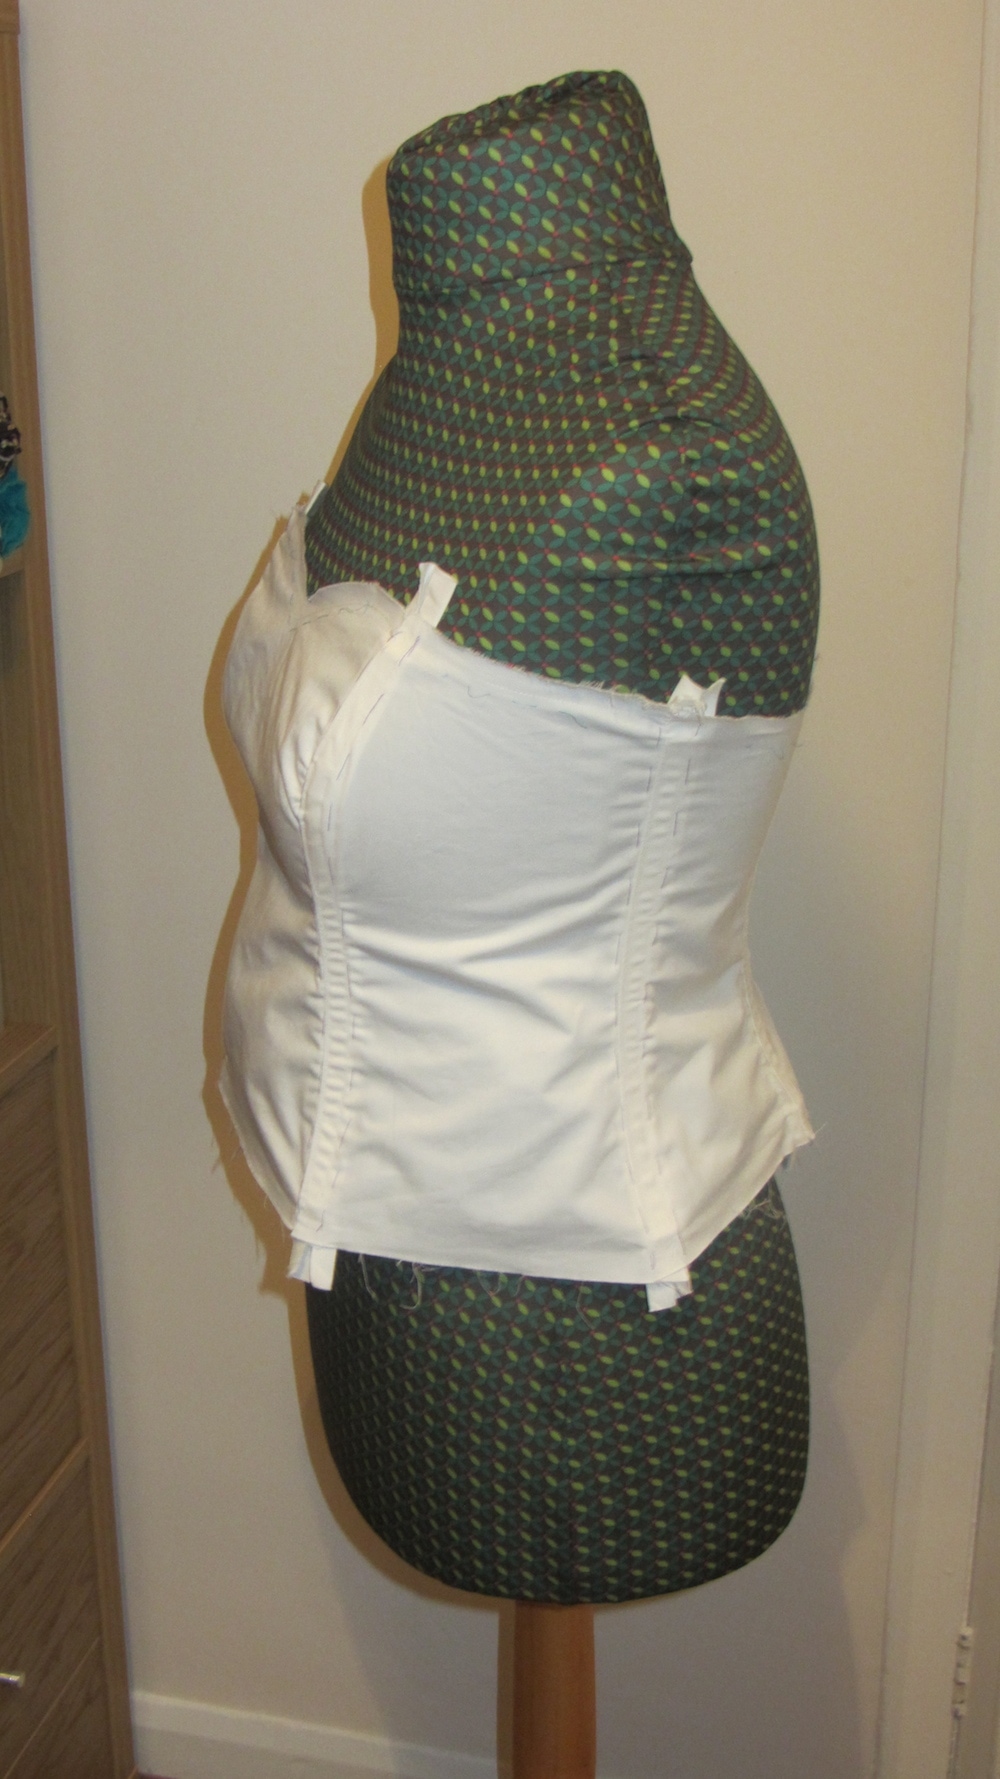
I added 5mm Rigilene to the front of the bodice between the princess seams up to the point where the fullness of the bust starts, two short strips placed diagonally on the sweetheart neckline and a full strip on each of the sides.
Each piece of boning was covered with self made bias tape from the twill and covered all the raw edges of the seams. As it was tricky to manoeuvre the boned bodice through the machine, I hand stitched a few of these covers in place. Despite the weight of the twill, the covers didn't provide too much bulk. To give even greater security, ensure a closer fit at the top of the bodice and stabilise the sweetheart I added twill tape - I didn't want to take any chances with the lace overlay.

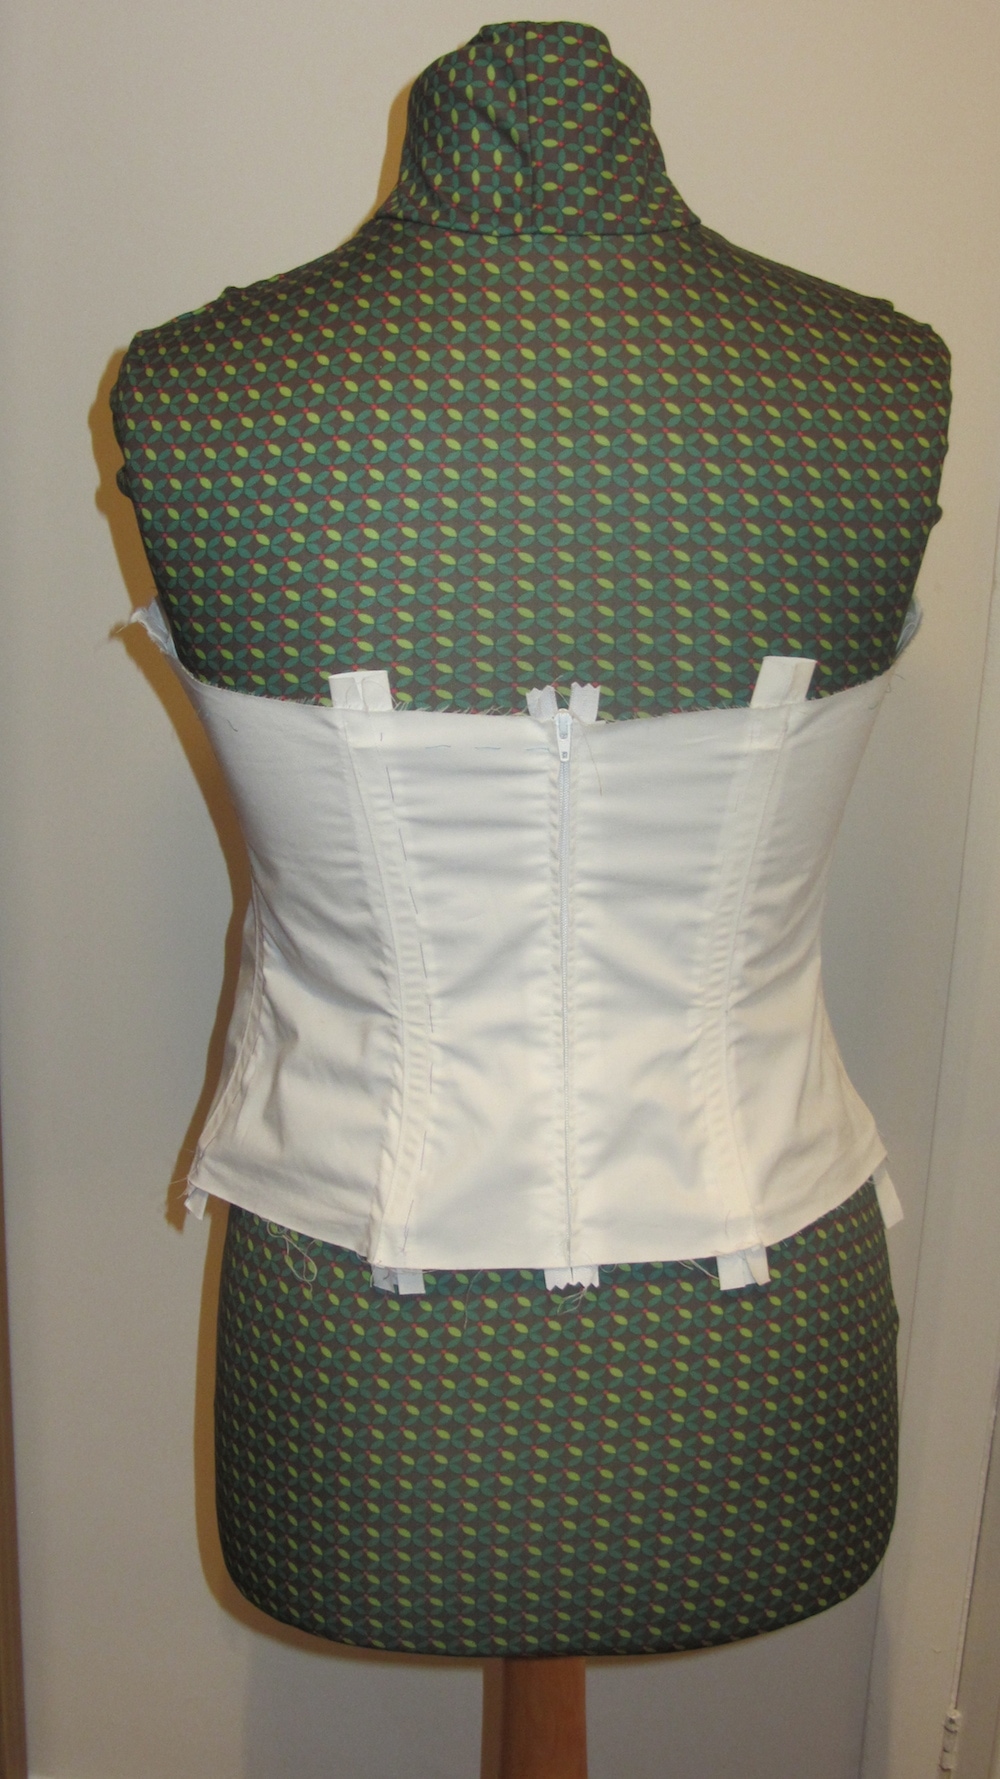
The next step was to add the waist stay. I chose a baby blue grosgrain ribbon to act as my something blue in case I decided to take part in that old tradition. The stay is anchored to the bodice either side of each boning channel and is finished with two hook and eyes. I can recommend the clear instructions from Claire Schauffer's book if you're unsure how to finish a waist stay. The final action on the twill was to finish the raw hem. I added a light weight ivory bias tape from my stash to ensure everything looked neat and tidy.


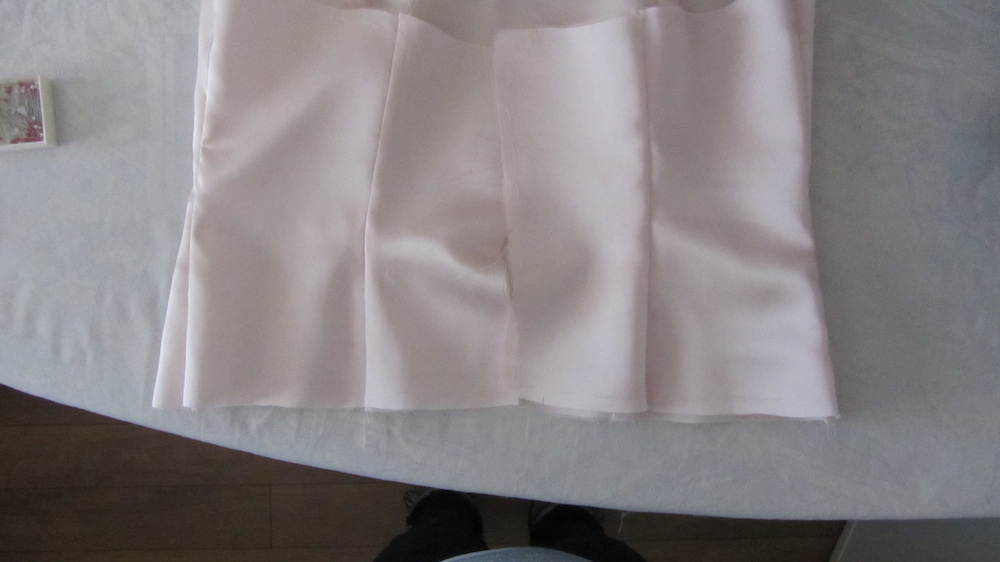
For the outer shell of the bodice, I used the beautiful rosewater medium weight crepe back silk satin. Before cutting into it, I made a change to the back of the pattern by converting the darts into seams to give a much cleaner finish.
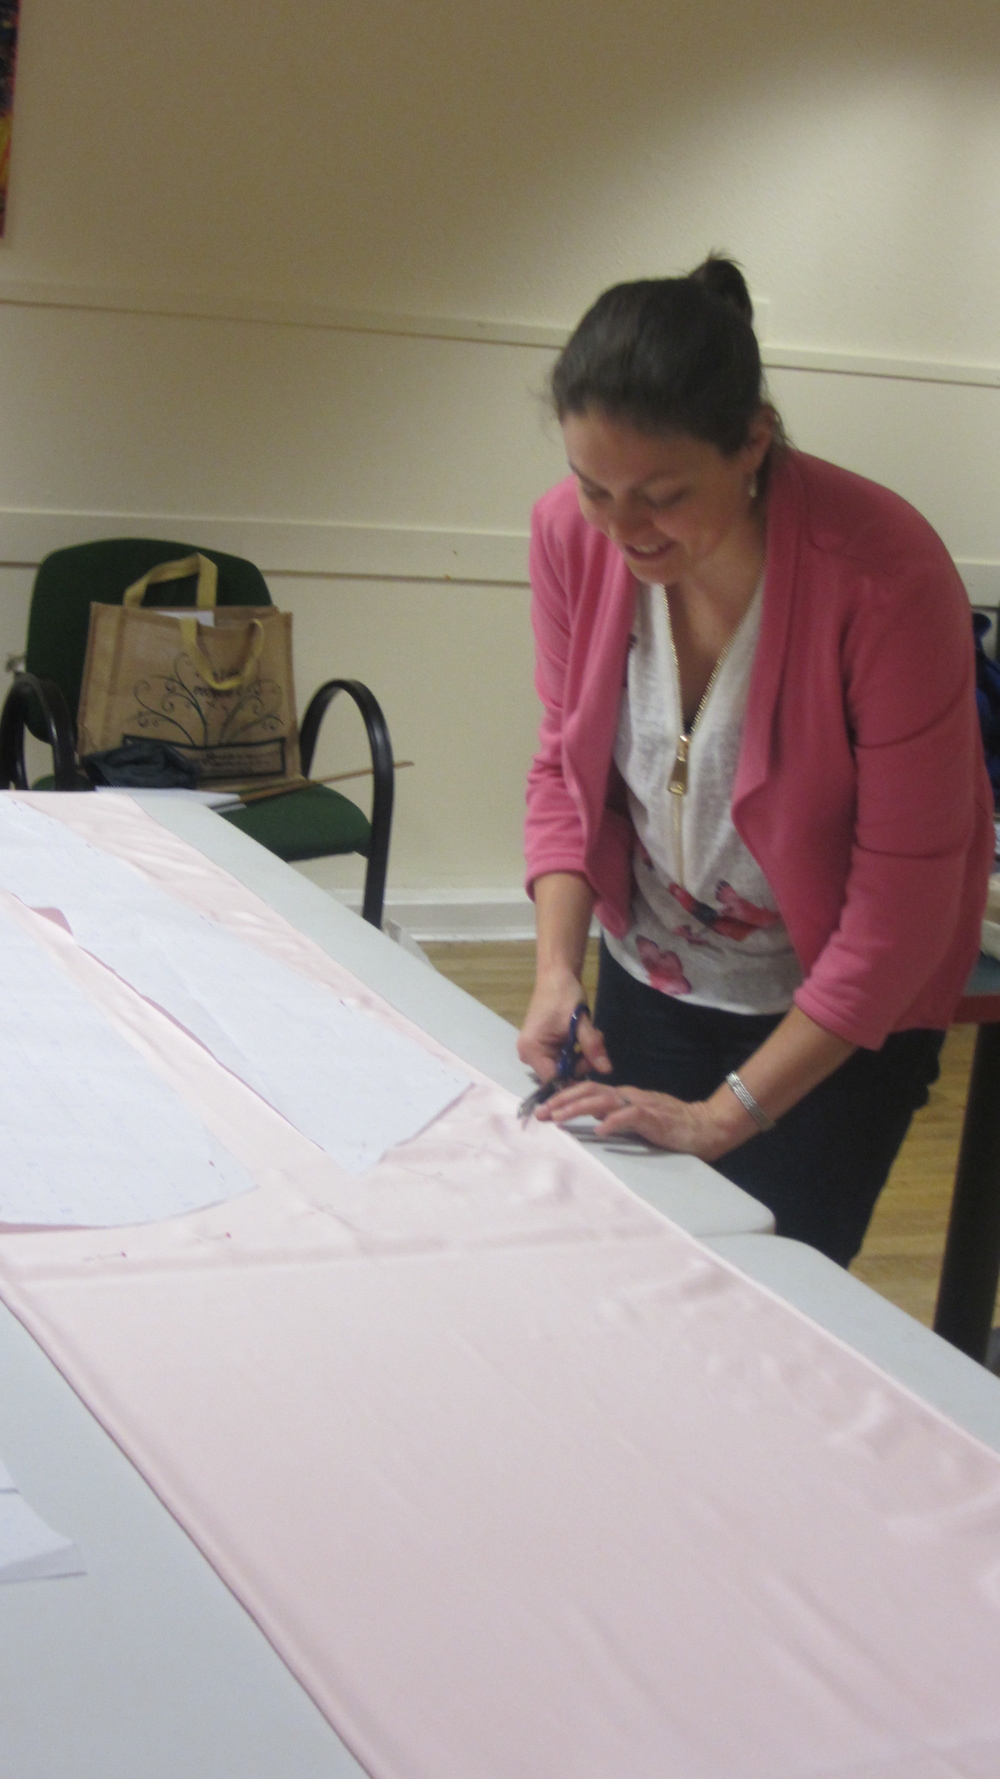

All of the silk satin pieces were mounted onto ivory silk organza to provide some stability.
Again, I basted all the pieces together and mounted it to the twill foundation to check the fit. It needed tweaking ever so slightly on the front princess seams. Thank goodness for silk thread - with the amount of basting needed there was a chance the silk satin would snag slightly but this threat was minimised with a new needle and silk thread.

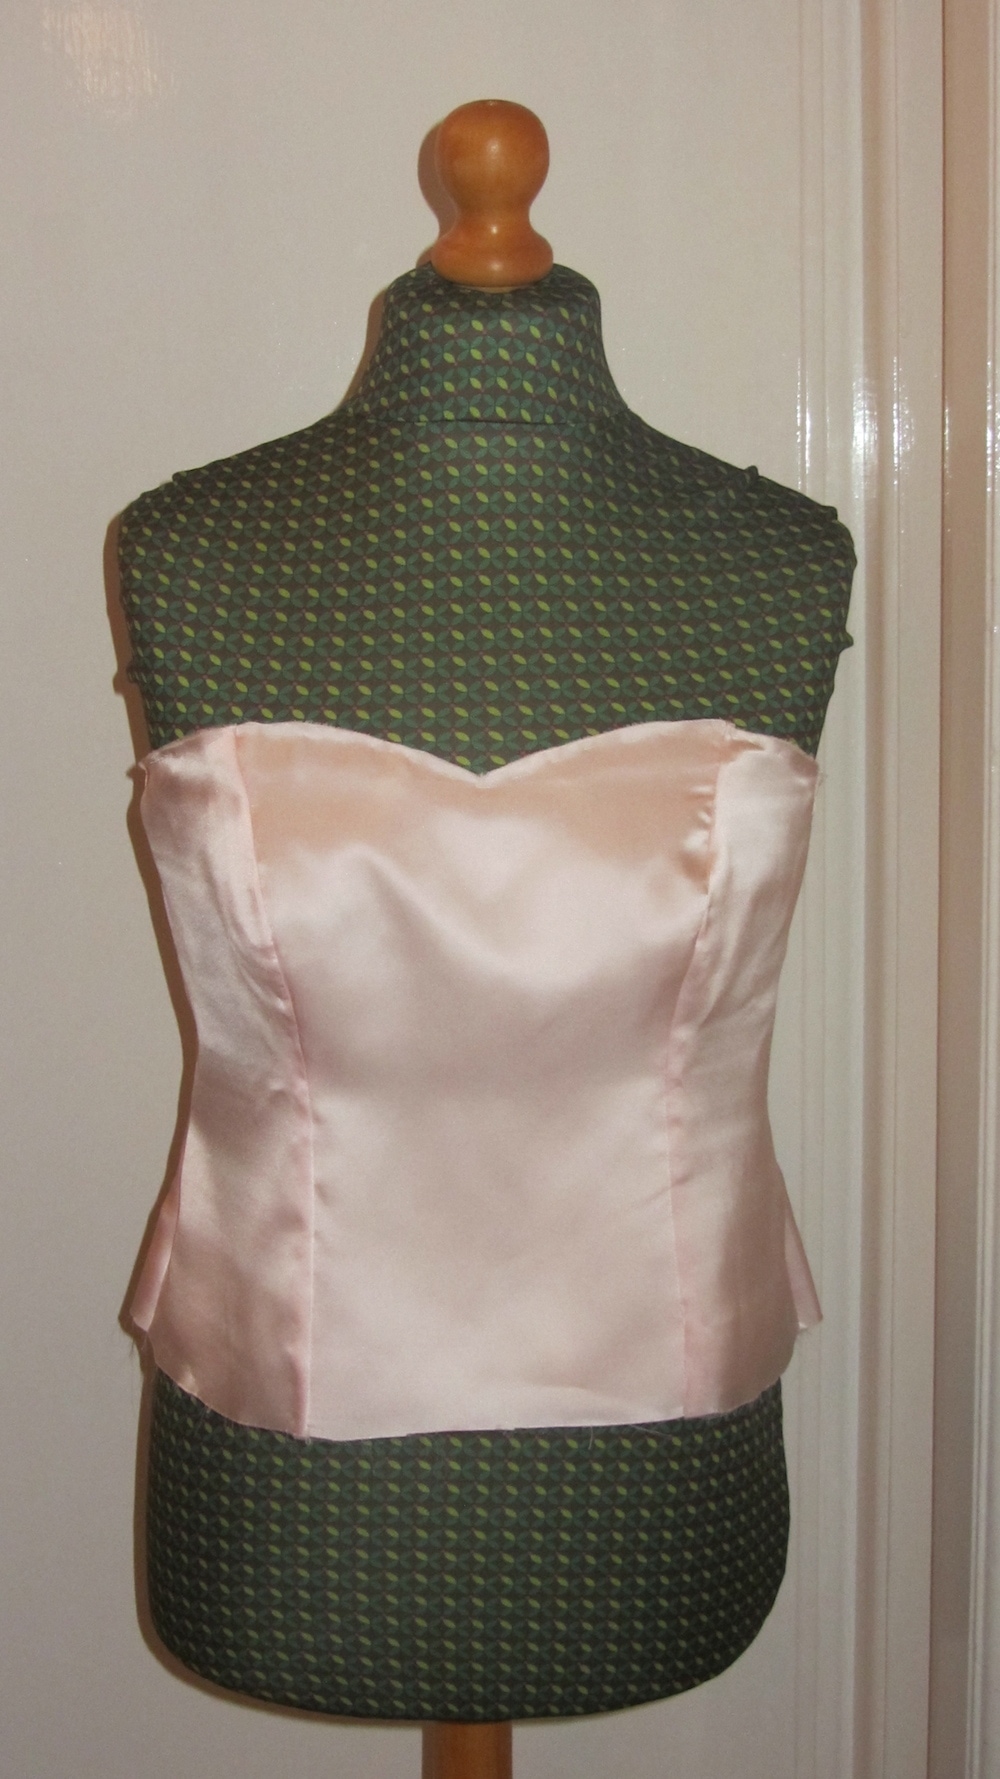
All the silk satin seams in the dress are French seams with the exception of the princess seams. The curve around the bust was too severe for a neat finish so they were trimmed and locked into position on the silk organza with a hand overcast stitch. The lining, made from pale pink Bemberg, was completed in the same way and construction was uneventful.
As a cute detail to the bodice, Chris suggested adding a narrow cord to the top of the bodice. I spent quite a long time covering a very narrow cord in the silk satin. It took so long as the silk satin kept shifting and required basting into place before going through the machine a couple of times to keep the width consistent. Adding the cord to the bodice also took longer than I anticipated as it needed carefully placing and handling. Once in place, I laid the satin shell onto the twill and stitched it into place.

The seam was hand overcast into place, clipped where necessary to maintain the shape. To add the lining, I pressed under the seam allowance, basted into place, and hand stitched carefully using the slip stitch. This allowed for a very neat finish and ensured none of the lining peaked over the cord.


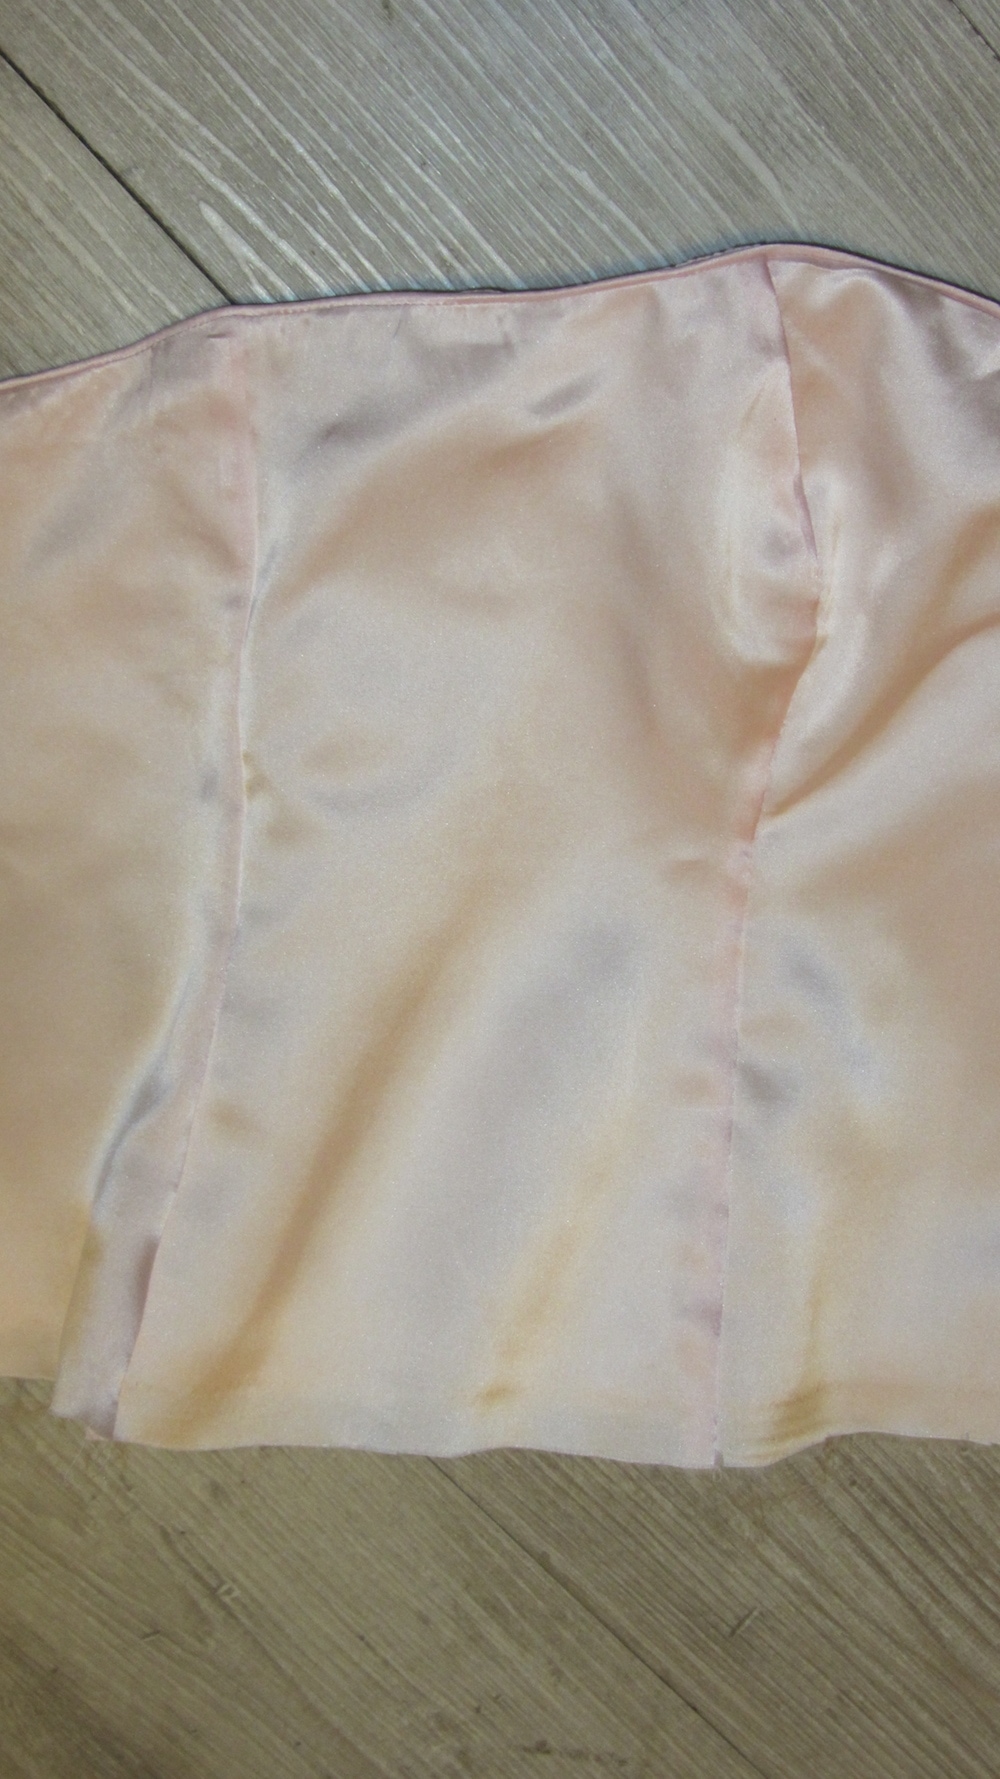
As you can see in the photo above, I needed to add an opening to the lining to allow the waist stay to come through. Keeping with the quality of this make, I opted for a technique similar to a bound buttonhole facing. Sally did something similar and I really liked the look. I would say the holes are a little too big but their size allowed the waist stay and the dress to move naturally with me.

The final step to completing the bodice at this stage was to baste all three layers together along the lower edges and the centre back seams to keep them nice until needed.